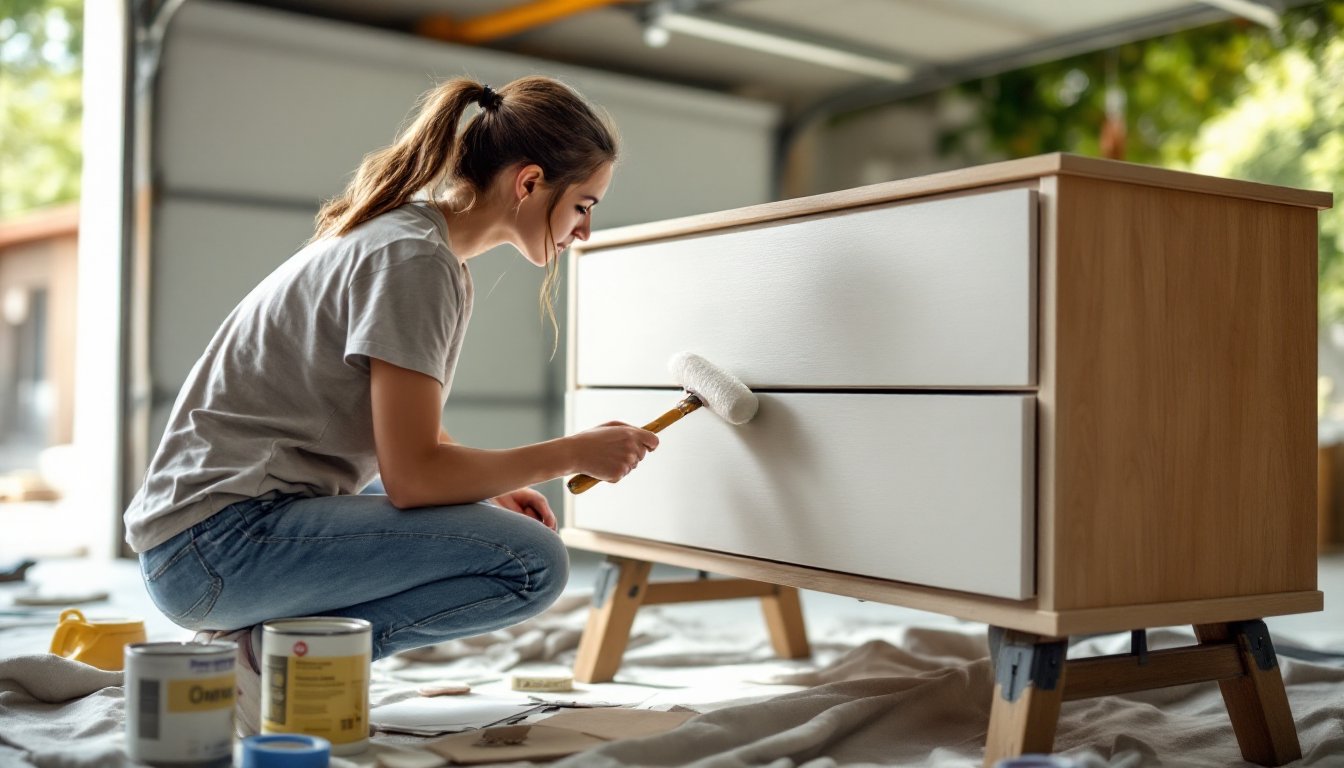
Painting bedroom furniture is one of the most cost-effective ways to refresh a space without replacing everything. That dated oak dresser or scratched nightstand can get a second life with the right prep and technique. Unlike refinishing or stripping, painting allows DIYers to completely transform style, from traditional wood tones to modern matte finishes. This guide walks through the full process, prep, primer, paint, and topcoat, with attention to the details that separate a weekend craft project from furniture that actually holds up to daily use.
Table of Contents
ToggleKey Takeaways
- Painting bedroom furniture costs a fraction of buying new—transform a dresser for under $75 versus $800 in retail, while keeping functional pieces out of landfills.
- Proper prep work including cleaning, sanding, and priming is critical; scuff-sanding the existing finish with 120-grit and 220-grit sandpaper creates texture for paint adhesion without requiring complete stripping.
- Satin latex paint offers the best balance for bedroom furniture durability and forgiving application, with light shades showing fewer brush strokes and darker colors requiring more coats and meticulous technique.
- Sanding lightly between paint coats with 220-grit sandpaper is the professional finishing secret that separates polished results from amateur-looking projects.
- Apply a topcoat sealer such as polycrylic or oil-based polyurethane to significantly extend paint life on high-touch surfaces; allow 24–48 hours of cure time before reattaching hardware or heavy use.
- Most bedroom furniture painting projects take one to two weekends, making it an accessible DIY transformation that doesn’t require permits or specialized trade knowledge.
Why Paint Your Bedroom Furniture?
Painting furniture costs a fraction of buying new. A dresser that would run $800 new can be transformed for under $75 in materials. Beyond budget, it’s a sustainability win, keeping functional pieces out of landfills.
Style flexibility is another major draw. Paint lets homeowners switch from honey oak to Scandinavian white, or add bold accent colors without committing to permanent woodwork changes. It’s also forgiving: unlike staining, which highlights every flaw, paint covers dings, water rings, and mismatched wood grain.
Finally, it’s a manageable project for most skill levels. Unlike structural work or electrical upgrades, painting furniture doesn’t require permits or specialized trade knowledge. A weekend is usually enough time for smaller pieces like nightstands: larger items like armoires may take two weekends with drying time.
Essential Supplies and Tools You’ll Need
Gathering everything upfront prevents mid-project hardware store runs.
Materials:
- Deglosser or TSP cleaner (trisodium phosphate) for grease and wax removal
- Sandpaper: 120-grit and 220-grit sheets or sanding sponges
- Primer: shellac-based (for stain bleed-through) or bonding primer (for laminate)
- Paint: latex or oil-based, depending on finish preference
- Topcoat/sealer: polyurethane, polycrylic, or wax
- Wood filler for gouges or hardware holes
- Painter’s tape (optional, for hardware masking)
Tools:
- Foam roller (4-inch works well for flat surfaces)
- Angled brush (2-inch for edges and detail work)
- Electric sander or sanding block (hand-sanding works but takes longer)
- Tack cloth or microfiber rags
- Drill with screwdriver bit (for removing hardware)
- Drop cloth or plastic sheeting
Safety Gear:
- Dust mask or respirator (essential during sanding and with oil-based products)
- Nitrile gloves
- Safety glasses
Work in a well-ventilated space, garage with the door open, covered patio, or room with cross-breeze and open windows. Avoid painting in direct sunlight or high humidity: both affect drying and finish quality.
Preparing Your Furniture for Painting
Prep work determines whether paint adheres for years or chips off in months. Don’t skip steps here.
1. Remove hardware and drawers.
Take off knobs, pulls, drawer slides, and any attached mirrors or backing. Label drawer fronts with painter’s tape and a number if they’re not interchangeable. Store screws in labeled bags or an old muffin tin.
2. Clean thoroughly.
Use deglosser or a TSP solution mixed per package directions. Wipe down all surfaces to remove furniture polish, body oils, and grime. Old furniture often has wax buildup that prevents paint adhesion. Let dry completely, at least 30 minutes.
3. Fill imperfections.
Use wood filler for gouges, scratches, or unwanted hardware holes. Apply with a putty knife, overfill slightly, then sand flush once dry (typically 1-2 hours). For veneer furniture, be gentle, aggressive filling can lift edges.
4. Sand the surface.
Start with 120-grit sandpaper to scuff the existing finish. The goal isn’t stripping to bare wood: it’s creating texture for the primer to grip. An electric sander speeds this up, but hand-sanding works for small pieces. After the first pass, wipe with a tack cloth, then do a second light pass with 220-grit for smoothness. Many DIYers assume painting furniture requires stripping, but scuff-sanding is usually sufficient.
5. Wipe down again.
Use a tack cloth or slightly damp microfiber rag to remove all sanding dust. Even tiny particles cause a gritty finish.
For laminate or previously painted furniture, bonding primer is critical. Standard primer won’t adhere to slick surfaces like melamine or glossy paint.
Choosing the Right Paint and Finish
Paint type and sheen affect both appearance and durability.
Paint Types:
Latex (water-based): Easier cleanup, lower odor, dries faster (1-2 hours between coats). Good for most bedroom furniture that won’t see heavy abuse. Coverage is typically 350-400 square feet per gallon, so a quart covers most dressers.
Oil-based (alkyd): Harder, more durable finish. Takes longer to dry (4-6 hours) and requires mineral spirits for cleanup. Better for high-contact surfaces like drawer fronts or if a glass-smooth finish is the goal. Note that some states restrict VOC levels in oil-based paints.
Chalk paint: Popular for distressed or vintage looks. No primer needed on most surfaces, but requires wax topcoat. More expensive per ounce and less durable without proper sealing.
Sheen Options:
- Matte/Flat: Hides imperfections but harder to clean. Not ideal for furniture.
- Eggshell: Slight sheen, easier to wipe down. Good for low-touch pieces like headboards.
- Satin: Most popular for furniture. Smooth, subtle luster, easy to clean.
- Semi-gloss: Very durable and washable. Can highlight surface flaws but stands up to drawer opening/closing.
For bedroom furniture that sees daily use, satin latex offers the best balance of durability and forgiveness. If the piece has heavy wood grain or knots, use a shellac-based primer (like BIN) to prevent tannin bleed-through, those brown spots that show up weeks after painting oak or pine.
Color choice is personal, but lighter shades show fewer brush strokes. Darker colors (navy, charcoal, black) require more coats and meticulous technique to avoid streaking.
Step-by-Step Painting Process
Work methodically. Rushing causes drips, missed spots, and uneven coverage.
Step 1: Prime
Apply one coat of primer using a foam roller for flat areas and an angled brush for edges, crevices, and details. Roll in the direction of the wood grain (if visible) or in overlapping W-patterns for even distribution. Don’t overload the roller, excess primer causes drips. Let dry per manufacturer’s directions (usually 1-2 hours for latex primer). Lightly sand with 220-grit if any drips or rough spots appear, then wipe clean.
Step 2: First coat of paint
Stir paint thoroughly (don’t shake, it creates bubbles). Use the same roller-and-brush technique as priming. Apply thin, even coats. One heavy coat looks faster but leads to drips and longer dry times. Work top to bottom: dresser top, then drawer fronts, then sides and legs. For drawer fronts, remove them and paint horizontally on sawhorses or a work table to avoid drips.
Step 3: Sand between coats
After the first coat dries (check the paint can, usually 2-4 hours for latex), lightly sand with 220-grit. This knocks down any brush marks or dust nibs. Wipe with tack cloth. This step is what gives a professional-looking finish. Projects featured in budget furniture makeovers often credit sanding between coats as the key difference.
Step 4: Second coat (and third, if needed)
Apply the second coat the same way. Two coats are standard: three may be needed for dark colors or dramatic color changes (like white over dark wood). Inspect in good lighting, oblique light reveals missed spots or streaks.
Step 5: Let cure before reassembly
Paint dries to the touch in hours but takes days to fully cure. Wait at least 24-48 hours before adding a topcoat or handling aggressively. For drawers, wait 72 hours before loading them to avoid sticking or marring.
Sealing and Protecting Your Painted Furniture
A topcoat isn’t always required, but it significantly extends paint life on furniture that gets touched, opened, or bumped daily.
Topcoat Options:
Polycrylic (water-based polyurethane): Clear, non-yellowing, low odor. Dries in 2 hours. Apply with a synthetic brush or foam roller in thin coats, thick application causes cloudiness. Two to three coats provide solid protection. Ideal for white or light-colored furniture.
Oil-based polyurethane: Extremely durable, slight amber tint (can warm white paint). Longer dry time (4-6 hours). Use in well-ventilated areas: odor is strong. Best for high-wear items like a desk or vanity.
Wax: Rubbed on with a rag or brush, buffed to a soft sheen. Common with chalk paint. Provides a hand-rubbed look but requires reapplication every 6-12 months and isn’t water-resistant. Not recommended for surfaces near drinks or cosmetics.
Application Tips:
- Lightly sand the final paint coat with 220-grit before topcoat for better adhesion.
- Apply topcoat in the same direction (with the grain or consistent pattern).
- Avoid over-brushing: it causes bubbles and streaks.
- Let each topcoat layer dry fully, then sand lightly between coats.
For pieces in kids’ rooms or high-humidity areas, a water-based poly in satin or semi-gloss offers the best durability. Many DIY transformations fail not from poor paint choice, but from skipping or under-applying the topcoat.
Reattach hardware once the topcoat has cured (usually 24-48 hours). If original hardware looks dated, swapping in new pulls or knobs is an inexpensive upgrade that completes the transformation.
Conclusion
Painting bedroom furniture is a high-impact, low-cost project that’s well within reach for most DIYers. Success hinges on prep, cleaning, sanding, and priming properly, and patience between coats. With the right materials and a weekend of work, that thrift-store find or hand-me-down dresser becomes a custom piece that fits the space perfectly.